Imagine this: a tenant vacates and expects to receive the complete security deposit. A week has passed since you sent them a deduction statement. Your inbox is filled with furious emails, negative reviews, and threats to “report you.” Ring a bell? Miscommunication regarding security deposit policies is perhaps the leading cause of conflict between landlords and tenants. Even when you conduct business professionally, ambiguous terms or poor communication can mushroom into legal trouble or reputational loss.
This guide explains how to communicate your security deposit policies clearly from day one, establish trust, and safeguard your property business.
What Are Security Deposit Policies (and Why They Matter)?
Security deposit policies determine how much tenants have to pay initially, what it will cover, the procedure for making deductions, and when the refund is made. It’s basically the landlord-tenant interest rulebook. In the U.S., most states govern how deposits are taken and returned.
For example:
- In California, landlords have to return the deposit within 21 days of the tenant’s move-out.
- In New York, it’s 14 days.
- In the U.K., deposits are kept in government-approved tenancy deposit schemes.
Across the world, the concept is the same: the deposit secures responsibility for the upkeep of the property and unpaid rent, but clear communication keeps the disagreements at bay.
Why Communication Is the Key to Avoiding Disputes
The majority of deposit-related disputes aren’t a result of evil intentions — they’re the result of inadequate communication. When tenants aren’t clear on what’s included, when refunds are issued, or why deductions are made, they jump to conclusions.
Clear communication:
- Decreases tenant conflicts and bad reviews
- Enhances trust and retention over time
- Demonstrates professionalism and adherence
- Saves hours of back-and-forth emails at move-out
If you’re exploring broader strategies to retain good tenants, read Insider Tips: How to Retain Good Tenants – 8 Key Strategies for more retention-focused communication techniques.
Step 1: Start Communication Early
Security deposit policy clarity should start before tenants sign the lease. Transparency upfront prevents future misunderstandings.
Here’s what to include in your pre-lease communication:
- Deposit amount and due date: Explain when it’s due and acceptable payment methods.
- Purpose of the deposit: State clearly that it is for unpaid rent, damages above normal wear, and possible cleaning charges.
- Conditions for refund: Detail your refund period and inspection procedure.
- Legal references: Reference your state or country’s deposit law for clarity.
- How communication will be handled: Email, tenant portal, or property management software alerts.
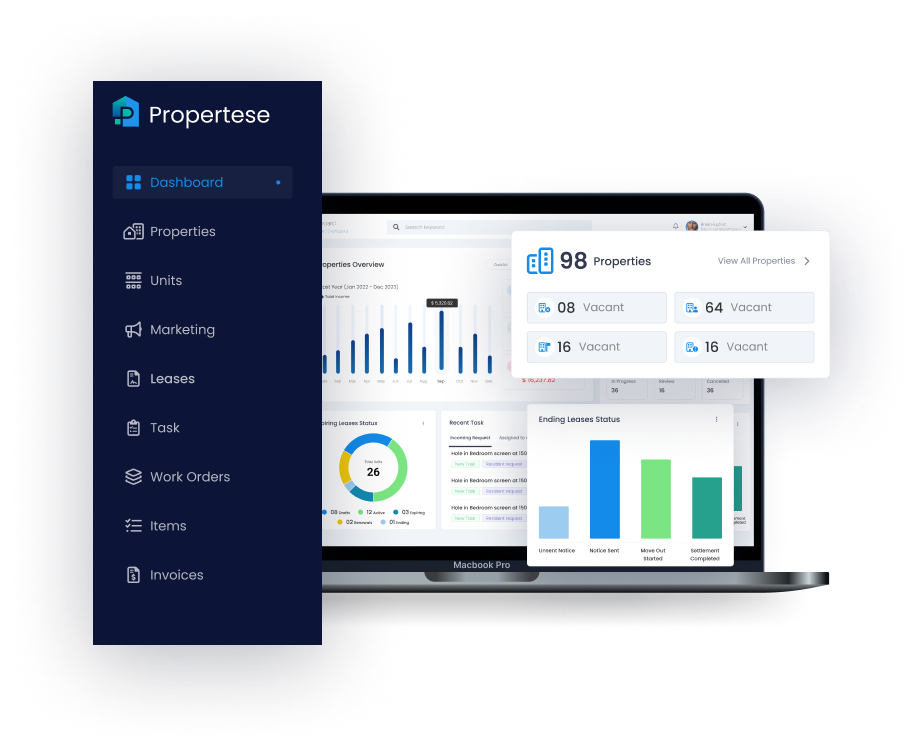
For digital-first landlords, Propertese makes this process easy by creating reminders, recording communications logs, and storing digital files — so there’s no “he said, she said” come move-out day.
Step 2: Include Deposit Terms Clearly in the Lease Agreement
The lease agreement brings legal and operational transparency as it explains the security deposit policies clearly. Ensure it has:
- The specific amount of the deposit to be given
- How it’s being held (escrow, trust account, etc.)
- Refund window after move-out
- Terms for deductions
- Information regarding deposit options (such as surety bonds)
Pro tip: Keep your language consistent throughout all documents. Tenants tend to be confused when spoken words and written words do not agree. If you’re new to lease management, check out The Guide to Property Lease Management Software to understand how digital tools can help you manage terms and tenant updates effortlessly.
Step 3: Use Visuals and Move-In Checklists
A photo speaks louder than a paragraph of legal jargon. During move-in:
- Document every room with pictures or video
- Make tenants sign an electronic condition report
- Store these documents safely in your property management platform
At move-out, these images are proof of any deductions. To further organize move-out inspections, give this a read: The Ultimate Move-Out Procedures Checklist for Tenants.
Step 4: Communicate Deductions Transparently
Q: How do landlords notify tenants of security deposit deductions?
A: Include a clear itemized list with photos, receipts, and descriptions within your legal timeframe. Transparency avoids controversy and demonstrates good faith.
Whenever deductions are made:
- List them out line by line (e.g., “Wall repaint – $85, carpet cleaning – $60”)
- Add supporting images from your inspection report
- Send via email and tenant portal (Propertese can automate this for you)
Transparency in this case defends your reputation and increases tenant trust — both crucial to expanding your property management business.
Step 5: Respect Legal Timelines (U.S. + Global)
Honor Legal Timeframes (U.S. + International)
Various countries and U.S. states have standardized refund timeframes. Failure to meet these deadlines can result in fines or prosecution.
For example:
- California: 21 days
- New York: 14 days
- Texas: 30 days
- U.K.: Deposit must be returned within 10 days after agreement
- Australia: Bond must be refunded within 14 days
Propertese automates refund timeline reminders so you never forget a deadline — even in multiple jurisdictions.
If you want to better understand your operational requirements, Navigating the Real Estate Landscape: Legal and Operational Requirements for Property Management Startups offers valuable insights.
Step 6: Use Digital Tools for Ongoing Communication
Employ Digital Tools for Continual Communication
Follow-ups are manual no more. Today’s tenants want mobile-friendly, instant notifications. Propertese provides intelligent automation tools like:
- Tenant notifications for deposits and refunds
- Document tracking and e-signatures
- Automated reminders for inspections
- Centralized communication logs
If you’re exploring how technology shapes tenant relationships, read Smart Solutions for Efficient Tenant Communication in Real Estate Management — it covers communication strategies that improve tenant satisfaction and retention.
Step 7: Reinforce Policies During the Tenancy
Deposit communication shouldn’t end at move-in. Reinforce it through:
- Periodic reminders before inspection
- Maintenance notices with gentle deposit reminders (“Avoid nail holes to prevent deductions”)
- Tenant education emails
Automation in Propertese lets you schedule such reminders at custom intervals, reducing misunderstandings and improving tenant experience. For ideas on consistent communication, see Effective Communication in Property Management.
Step 8: Prepare for Move-Out with Clarity
When tenants are moving out, clarity matters most. Send them:
- A move-out guide detailing expectations
- Cleaning and repair checklists
- A notice of your inspection date
You can also automate these touchpoints using Propertese, which ensures every tenant receives the same professional experience. Combine this with Tips for a Smooth Move-Out Process for a seamless transition that minimizes disputes.
Step 9: Handle Disputes Professionally
Despite warnings, disputes still occur. Here’s how to resolve them with diplomacy:
- Reply quickly and politely.
- Cite your recorded reports.
- Provide supporting facts.
- Describe legal rights and future steps.
- Be courteous and sympathetic.
Read Resolving Issues and Retaining Residents: Best Practices for Customer Service in Property Management to see how professional communication builds trust even during conflicts.
Step 10: Document Everything
Documentation brings legal backup and peace of mind. Document the following:
- Inspection reports
- Tenant emails and responses
- Photos and receipts
- Payment confirmations
Digital tools such as Propertese do this sorting automatically, so it’s available when you need it. This minimizes human error and creates an open record trail. If you want to enhance your operational efficiency overall, explore Enhancing Property Management Efficiency with Propertese — it’s a must-read for modern landlords.
Common Mistakes to Avoid When Sharing Security Deposit Policies
- Lack of written evidence of deposit notification
- Failure to keep tenants informed of the refund status
- Disregarding local legislation or deposit limits
- With ambiguous language such as “damages may apply”
- Not saving inspection photos or receipts
Minor oversights can turn into significant disputes. Automation and communication through Propertese can help you avoid them effortlessly.
Bonus: Sample Template for Deposit Communication
Here’s a sample message you can adapt:
Subject: Your Security Deposit Details for [Property Address]
Hi [Tenant Name],
Thanks for choosing [Property Name]. Your security deposit of $[Amount] covers potential damages and unpaid rent.
You’ll receive your refund within [XX] days of move-out, as per [State/Country] law.
To ensure a smooth process, please follow the attached checklist and contact us for a pre-inspection appointment.
You can track updates anytime in your Propertese tenant portal.
Best,
[Your Name]
[Property Management Company]
This short, friendly message sets the right tone while reinforcing professionalism.
Final Thoughts
Security deposits don’t need to be stressful. If tenants know the security deposit policies, timelines, and procedures, they are much less likely to contest deductions. With Propertese, property managers can systematize each step — from sending reminders and monitoring communication to handling deductions and refund timelines — with compliance and trust. A transparent, clear communication approach not only safeguards your business; it builds your brand reputation and results in more satisfied tenants.
Table of Contents
Stay Updated
Subscribe to get the latest news, industry trends, blog posts, and updates...